Claims, Regions and Permissions on a Minecraft Server: Commands and Setup
Ready-to-use commands for claims, regions, permissions and teleports, with an explanation of what breaks where and why a region sometimes "doesn't work".
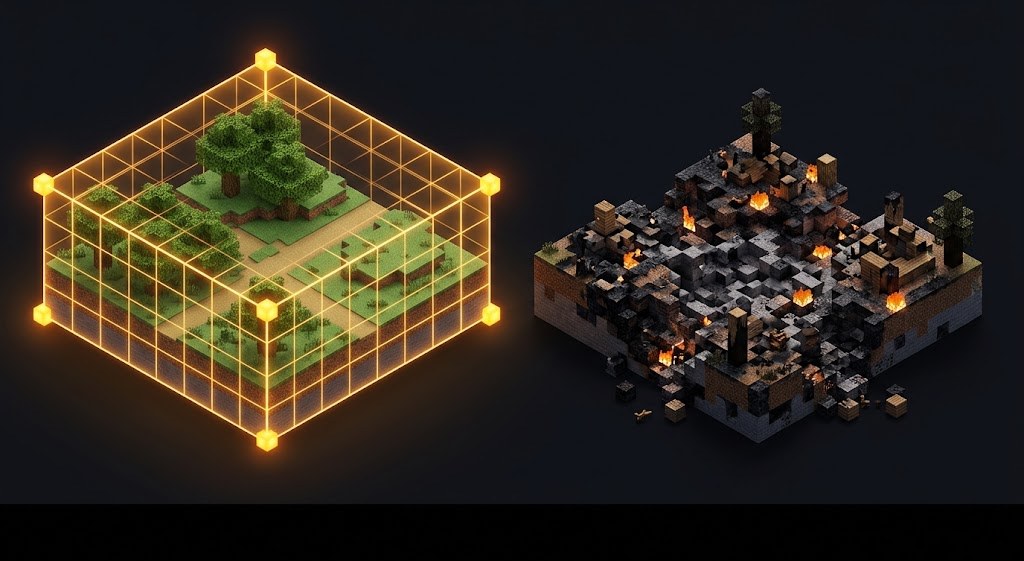
Claims, regions, clans and warps are what players ask about on the very first evening. We collected the commands and settings for each task: what to install, how to grant permissions and which mistakes come up most often.
Claims: two approaches
| GriefPrevention | WorldGuard | |
|---|---|---|
| Who marks the area | the player, with a golden shovel | an administrator, with commands |
| Learning curve | low, almost no explaining needed | needs someone who understands flags |
| Flexibility | basic protection | dozens of flags per region |
| Best for | survival, vanilla servers | spawn, arenas, event zones |
The working combination is both at once: players claim their homes through GriefPrevention, while the administrator locks down spawn and arenas with WorldGuard regions.
How a player claims land
- Take a golden shovel. It is the marking tool.
- Click one corner of the future claim, then the opposite corner.
- A message appears confirming the claim and showing the blocks you have left.
- To let a friend in:
/trust Name. To remove access:/untrust Name. - To see the borders:
/claimlist, then stand inside and click with a stick.
The number of blocks per player and the starting limit are set in the plugin config. Usually you give a starting allowance and add more for time played.
Administrator regions
The classic set of WorldGuard commands for marking out spawn:
//wand                    — get the selection axe
/rg define spawn          — create a region from the selection
/rg flag spawn pvp deny   — disable PvP
/rg flag spawn build deny — disable building
/rg flag spawn mob-spawning deny
/rg addmember spawn Name  — let a player in
The most common mistake is that the region is created but its priority is not set. If regions overlap, the one with the higher /rg setpriority wins.
Permissions and groups
LuckPerms is the standard. A minimal set of commands that covers 90% of tasks:
/lp creategroup vip                 — create a group
/lp group vip permission set essentials.home.multiple.vip true
/lp user Name parent add vip        — give a player the group
/lp user Name parent settemp vip 30d — give it for a month
/lp group vip meta setprefix 100 "&eVIP &r"
Permissions go to groups, not to individual players by name. Otherwise in a month you will not remember who has what unlocked. One-off exceptions should be temporary permissions only.
Clans, homes and teleports
- Homes. In EssentialsX:
/sethome,/home. The number of homes per group is set with theessentials.sethome.multiple.*permission. - Warps.
/setwarp namecreates a shared point, such as an arena or a mine. - Random teleport. A separate plugin. Be sure to limit the radius with the world border, or players will generate chunks thousands of blocks away.
- Clans. Installed as a separate plugin. Useful where there is a war for territory; on a peaceful survival server they are usually unnecessary.
What almost every server is missing
- Logs. CoreProtect and the
/co inspectcommand. Without them every complaint gets settled on someone's word. - Combat tag. A plugin that stops players from logging out during a fight.
- Clear rules in chat on first join.
- A world limit.
/worldborder set 10000- and your disk will thank you.
If you would rather not assemble it by hand
In our server builds all of this is already linked: claims, permissions, clans, logs and teleports are configured and do not conflict with each other. We also have our own claims plugin with nine mechanics, from an alarm to an explosive claim: plugin catalog.
Do not want to put all of this together by hand?
We have been building server builds, plugins and websites for Minecraft servers since 2022. A ready-made solution goes onto your hosting in an evening, and we install it for free.